Thanks for downloading!
We'd love to hear from you if the print was successful.
The Raptor Hand by e-NABLE
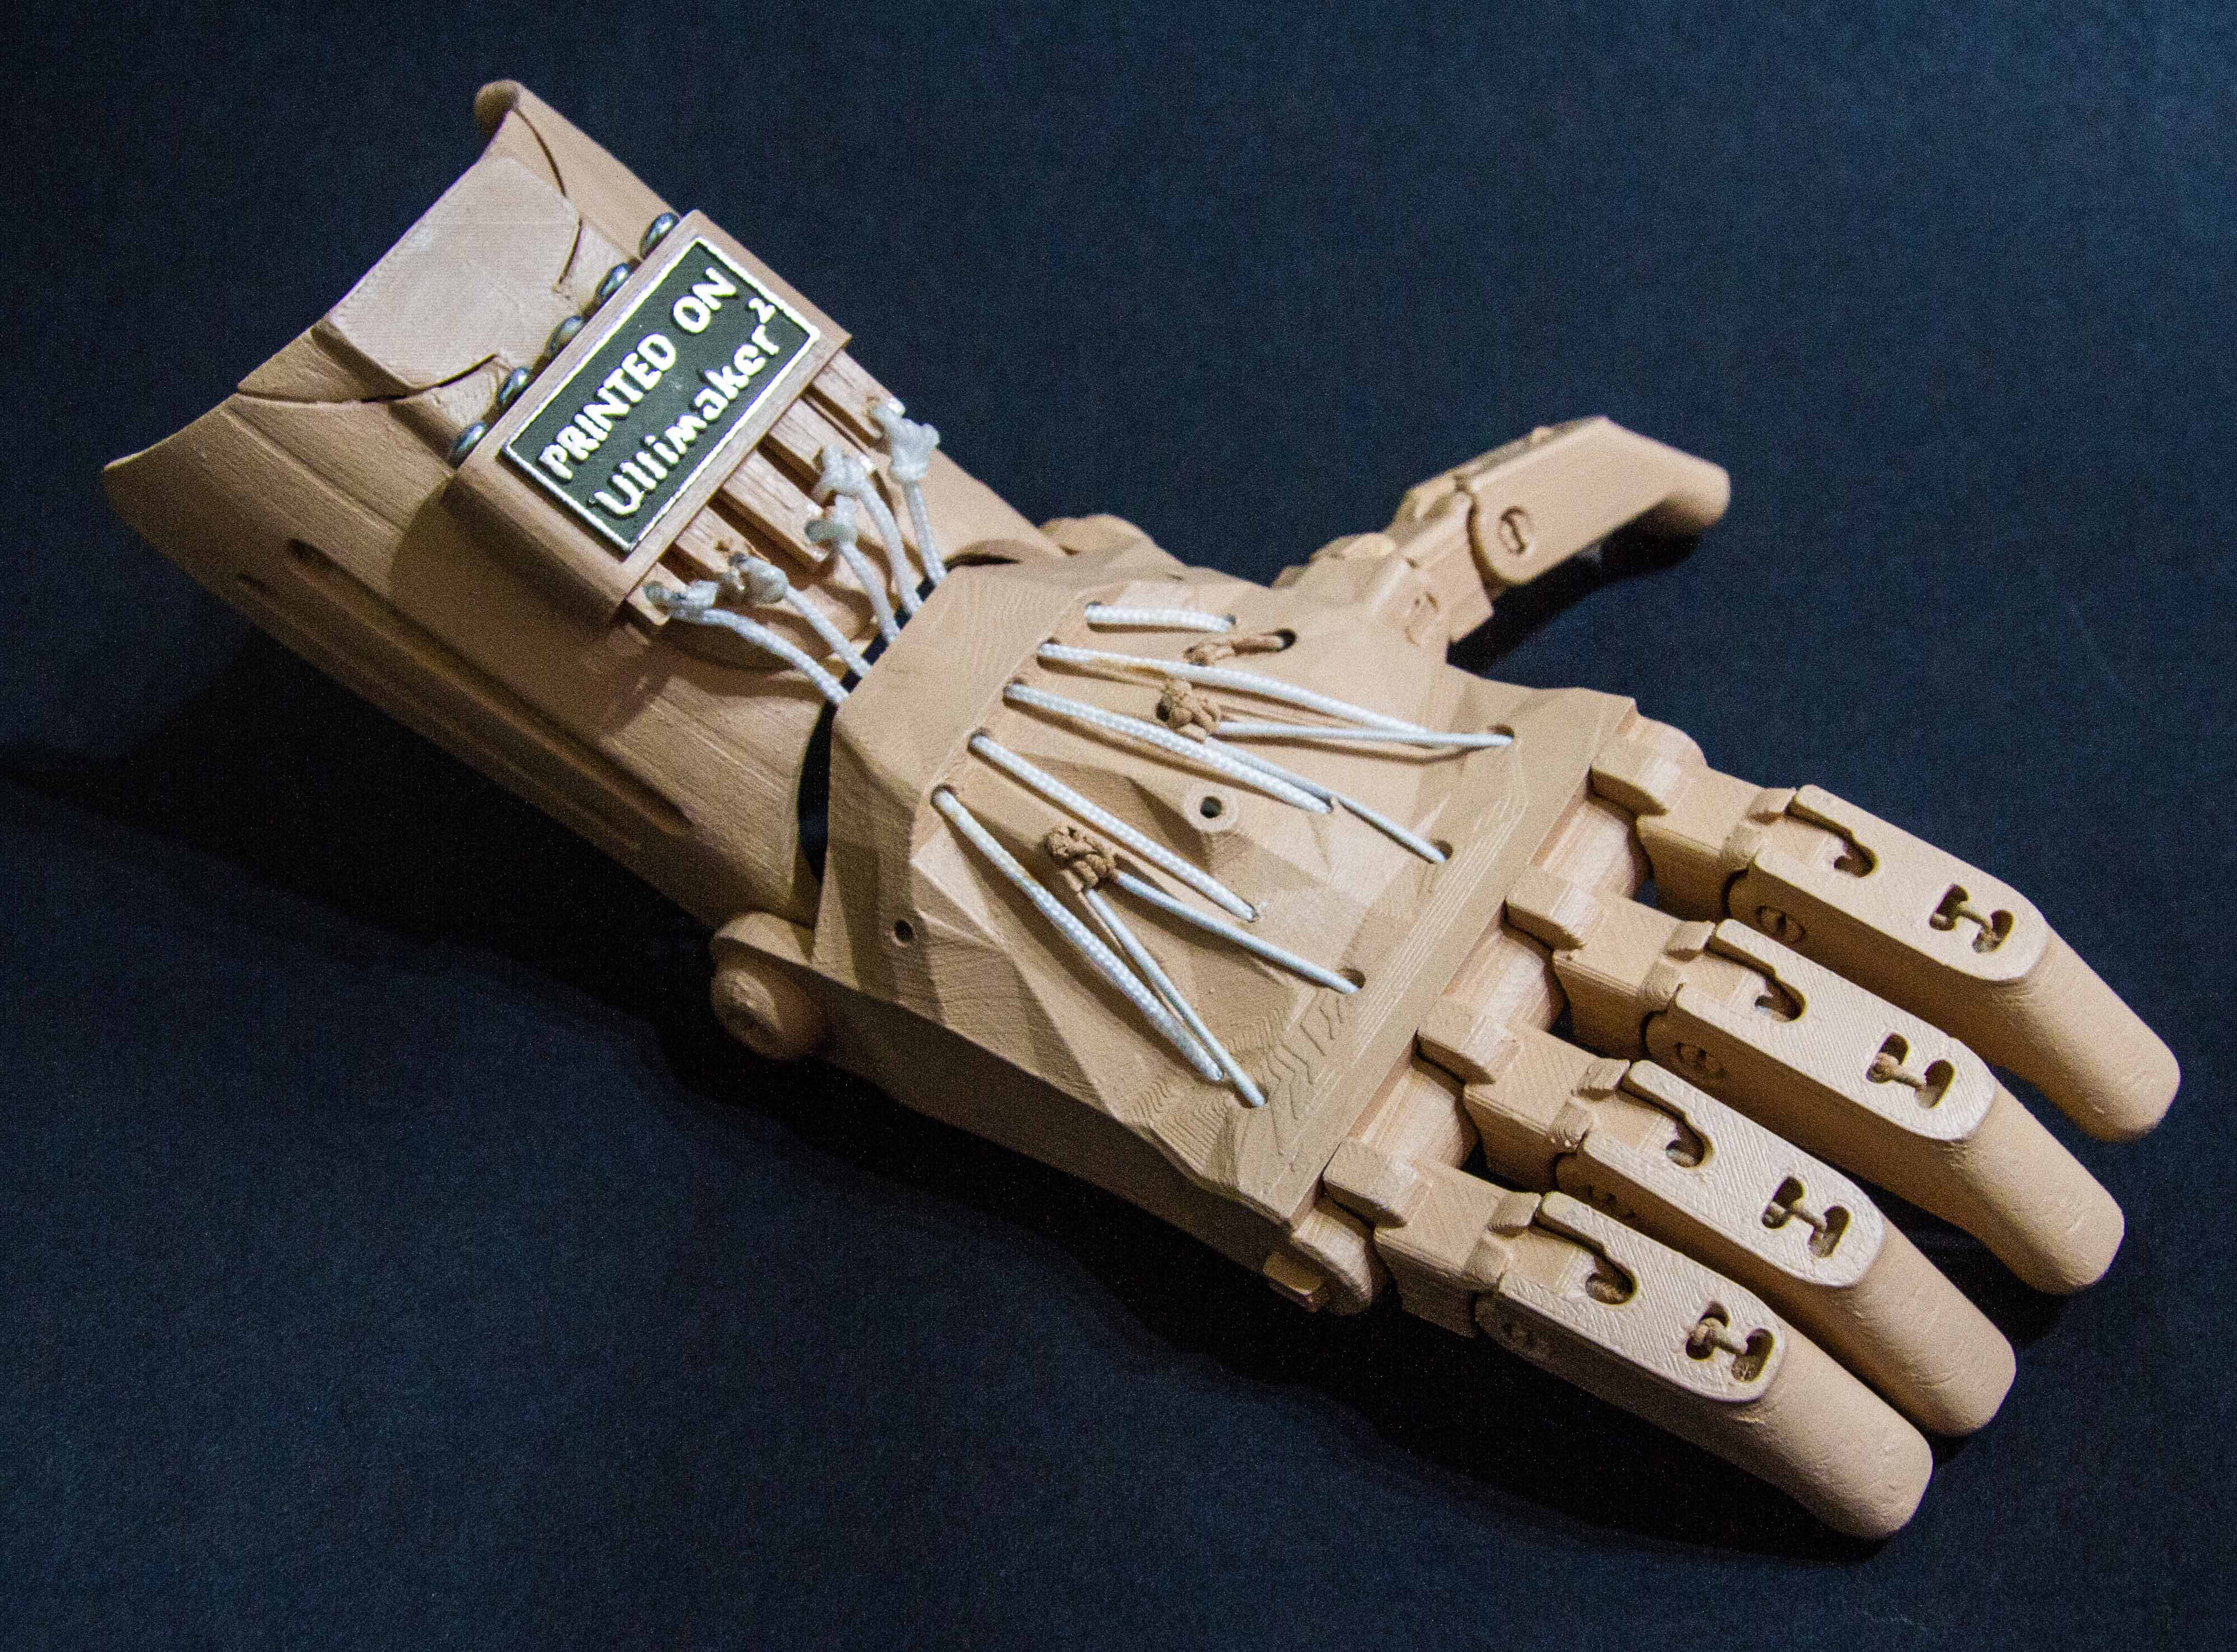
We are very pleased to introduce the Raptor Hand by e-NABLE, designed collaboratively by some of e-NABLE’s top designers! The Raptor Hand is intended to bring together the best and most widely tested ideas from a year of crowd sourced innovation.
Other
BSD
A permissive Free Software license that lets this work be widely shared with few restrictions.
Description
The objectives in designing the Raptor Hand were as follows:
* To simplify fabrication and assembly and repair for makers and recipients alike
* To provide a platform and reference design for future innovations, incremental and radical
* To identify a core features set and standardized dimensions embodied in accessible 3D models with progressive licensing terms that will ensure widespread availability and future development.
e-NABLE's prior "go to" designs included the Cyborg Beast, the Talon hand, the Ody hand and the Talon Beast. To these classics, the Raptor Hand by e-NABLE adds the following features:
* Easier and quicker printing (no supports required)
* Easier and quicker assembly (no Chicago Screws required, simplified cord installation)
* An improved tensioning system (modular design, allowing for easier future development)
* Improved documentation (coming soon)
All of the parts needed for assembly can be found easily in most areas, but if you prefer to get everything in one place, 3D Universe offers kits with all of the assembly materials needed for producing a Raptor Hand: http://shop3duniverse.com/collections/3d-printable-kits/products/raptor-hand-by-e-nable-assembly-materials-kit
Printing instructions:
* Scale all parts as needed (the Raptor Hand is designed to work at scales from 100% through 170%)
* At 100%, the inside of the palm area measures 55mm
* Measure across the widest part of the palm, then add 5mm for padding, then divide by 55 to get the scaling factor (for example, if the palm is 65mm wide, then 65 + 5 = 70, and 70 / 55 = 1.27 - so your scaling multiplier would be 1.27 or 127%)
* Print without supports (palm and gauntlet have some supports built into the model)
* PLA is recommended
* Suggested settings are 0.2mm layer height, 35% infill, 2 outlines
* Refer to file names for part descriptions. The number following the "X" at the end of each file name indicates how many copies of that STL file need to be printed for a complete hand assembly.
* After printing, remove the built in support pieces from the palm, gauntlet and dovetail cap.
A video tutorial for the assembly process can be found here:
The PDF Assembly Instructions Manual is courtesy of Mike Agronin of Direct Dimensions.
For more information on where to connect with people who can help someone in need with sizing, printing and/or assembly a mechanical hand please join the e-NABLE Google+ Community entitled, e-NABLE:
https://plus.google.com/communities/102497715636887179986
For more information and stories: http://enablingthefuture.orghttps://www.facebook.com/enableorganization
Materials and methods
Assembling a Raptor Hand requires the following materials:
* (4 feet) Velcro, double-sided (2” wide)
* (8 feet) Non-flexible nylon lift cord or braided fishing line ("Spectra line")
* (5 feet) Flexible elastic cord
* (5) Tensioner screws
* (3) Palm velcro attachment screws with stop nuts
* (12 inches) Firm Foam Padding (5 ¾” wide)
* (5) Lee Tippi Micro Gel Fingertip Grips (as shown in photo, optional)
Documents
Issues
Issues are used to track todos, bugs or requests. To get started, you could create an issue.
Comments
Do You have any contact, e-mail, facebook?

- Printed on:
- Ultimaker - The Ultimaker 2
- Result:
- The print went fine. I should have chosen to print the version without supports and with supports generated from Cura. I used Amphora (used to be called XT). Supports are very easy to remove, even a big chunk will break of cleanly and easily. The ColorFabb Amphora material is food safe and will not crack but will tear when it's stressed beyond the material capabilities. Seems to be much safer than PLA. Also I liked the bright colors that the girl who now has it has chosen.
- Feedback:
- Another photo which shows the first one I made for the girl. She now uses the second one I made, which is a bit smaller.

- Printed on:
- Ultimaker - The Ultimaker 2
- Result:
- The print went fine. I should have chosen to print the version without supports and with supports generated from Cura. I used Amphora (used to be called XT). Supports are very easy to remove, even a big chunk will break of cleanly and easily. The ColorFabb Amphora material is food safe and will not crack but will tear when it's stressed beyond the material capabilities. Seems to be much safer than PLA. Also I liked the bright colors that the girl who now has it has chosen.
- Feedback:
- This is the first one I printed, I had scaled it too big, but since have made another reprint (which looks almost identical, but it's a bit smaller). That one has all the velcro and padding and is being used by a girl who lives in our neighbourhood.